If you’ve searched for LiFePO4 battery charging, you’ve probably seen conflicting answers. Some people treat lithium like lead-acid. Others repeat settings with no context. And in RV, marine, and off-grid setups, the “right” answer depends on what you’re powering and how you recharge day to day.
This guide simplifies charging into practical pieces you can verify: what matters, what usually doesn’t, and how to build a plan that keeps your battery healthy and your gear powered.
Why LiFePO4 charging feels confusing (and how to simplify it)
The real goal: safe charging plus usable runtime
Most people are not trying to win an electrical-engineering debate. They want a battery that lasts and power they can count on. In practical terms, good charging means your system replaces the energy you use, your equipment stays within safe limits, and the setup behaves predictably in your environment. When you evaluate advice online, ask one question: Does this help me recharge reliably for my actual use case?
Common myths that cause bad advice online
A few patterns create most of the confusion. People copy lead-acid habits into LiFePO4 setups. People share one set of controller settings as if they apply to every battery, every charger, and every climate. And people skip the basic math, then blame the battery when a small solar panel cannot keep up with a large daily load.
What “battery charging” means in daily use
Charging is simply putting energy back into the battery faster than you take it out, without pushing the battery outside safe conditions. The charger, controller, alternator, and wiring exist to make that happen in a controlled way.

LiFePO4 charging basics you can trust
Voltage, current, and state of charge in plain English
Here's the simplest way to think about the terms you see everywhere: voltage is electrical pressure, current (amps) is the flow rate, and state of charge is how full the battery is. A common failure mode is focusing on one number (like voltage) while ignoring the system. A stable, correct profile beats chasing a “perfect” number.
Charging stages bulk absorption float and what to do about float
Many chargers and solar controllers use stages:
- Bulk: pushes current until a target voltage is reached.
- Absorption: holds a target voltage while current tapers.
- Float: holds a lower voltage to maintain charge.
Float is where many people get stuck. Float is helpful for some battery types and some scenarios. For LiFePO4, the practical approach is: use a LiFePO4-compatible charging profile provided by your charger or controller manufacturer, and avoid copying generic lead-acid float behavior.
Temperature and BMS protections
Temperature affects charging. Many LiFePO4 batteries include a battery management system (BMS) that can stop charging in unsafe conditions, especially near freezing. If your system "won't charge," it may be protecting itself. To reduce surprises, keep batteries in a more stable temperature zone when possible, plan for limited charging in cold weather, and always follow manufacturer guidance for your specific battery and charger combination.
Charging LiFePO4 batteries with solar
PWM vs MPPT: what matters most in real-world charging
PWM vs MPPT debates can miss the bigger point. The biggest driver of success is whether you have enough solar input for your daily load.
That said, MPPT controllers often capture more usable energy from a panel array, especially when conditions change. If you need consistent recharge for RV or off-grid loads, MPPT is often the more forgiving choice.
Controller settings that are usually the difference between success and frustration
Most solar issues trace back to a few repeatable causes: the controller is on the wrong battery type, connections are loose or corroded, wire runs are undersized causing voltage drop, or panels are shaded during key sun hours. Choose a controller that supports LiFePO4, then use the manufacturer's LiFePO4 profile as a baseline.
Panel sizing using daily Wh and realistic sun hours
A factual way to size solar is to think in watt-hours (Wh). Estimate how many Wh you use each day, then estimate your realistic daily "good sun" hours, and size your panels so you can replace that energy with some buffer for clouds and shading. You do not need perfect math. You need a conservative estimate so the system is not underbuilt.
If you’re planning your solar charging setup, start by browsing Bioenno’s solar controller options and solar panels.
Charging LiFePO4 from a vehicle alternator (RV, van, work truck)
Why a DC-DC charger is often the safer approach
Alternator charging is one of the most misunderstood areas of lithium systems. In many builds, a DC-DC charger is used to manage current and charging behavior more safely than a direct connection. Vehicle electrical systems vary, so follow component manufacturer wiring guidance for your exact alternator and battery setup.
Protecting the starter battery and alternator
Two practical goals matter here: do not drain the starter battery and do not overload charging components for long periods. A well-designed alternator charging path typically includes appropriate fusing, correct cable sizing, and charging control (often DC-DC in modern vehicle systems).
Practical charging habits while driving
The most useful habit is treating alternator charging as a "travel day" recharge method rather than your primary power source. Monitor system behavior in hot weather, and build alternator charging into a larger plan that includes solar and wall charging. If you want an easier all-in-one approach for portable needs, consider systems like Bioenno PowerPacks.

Charging LiFePO4 with a wall charger at home or at the dock
What to look for in a LiFePO4 charger
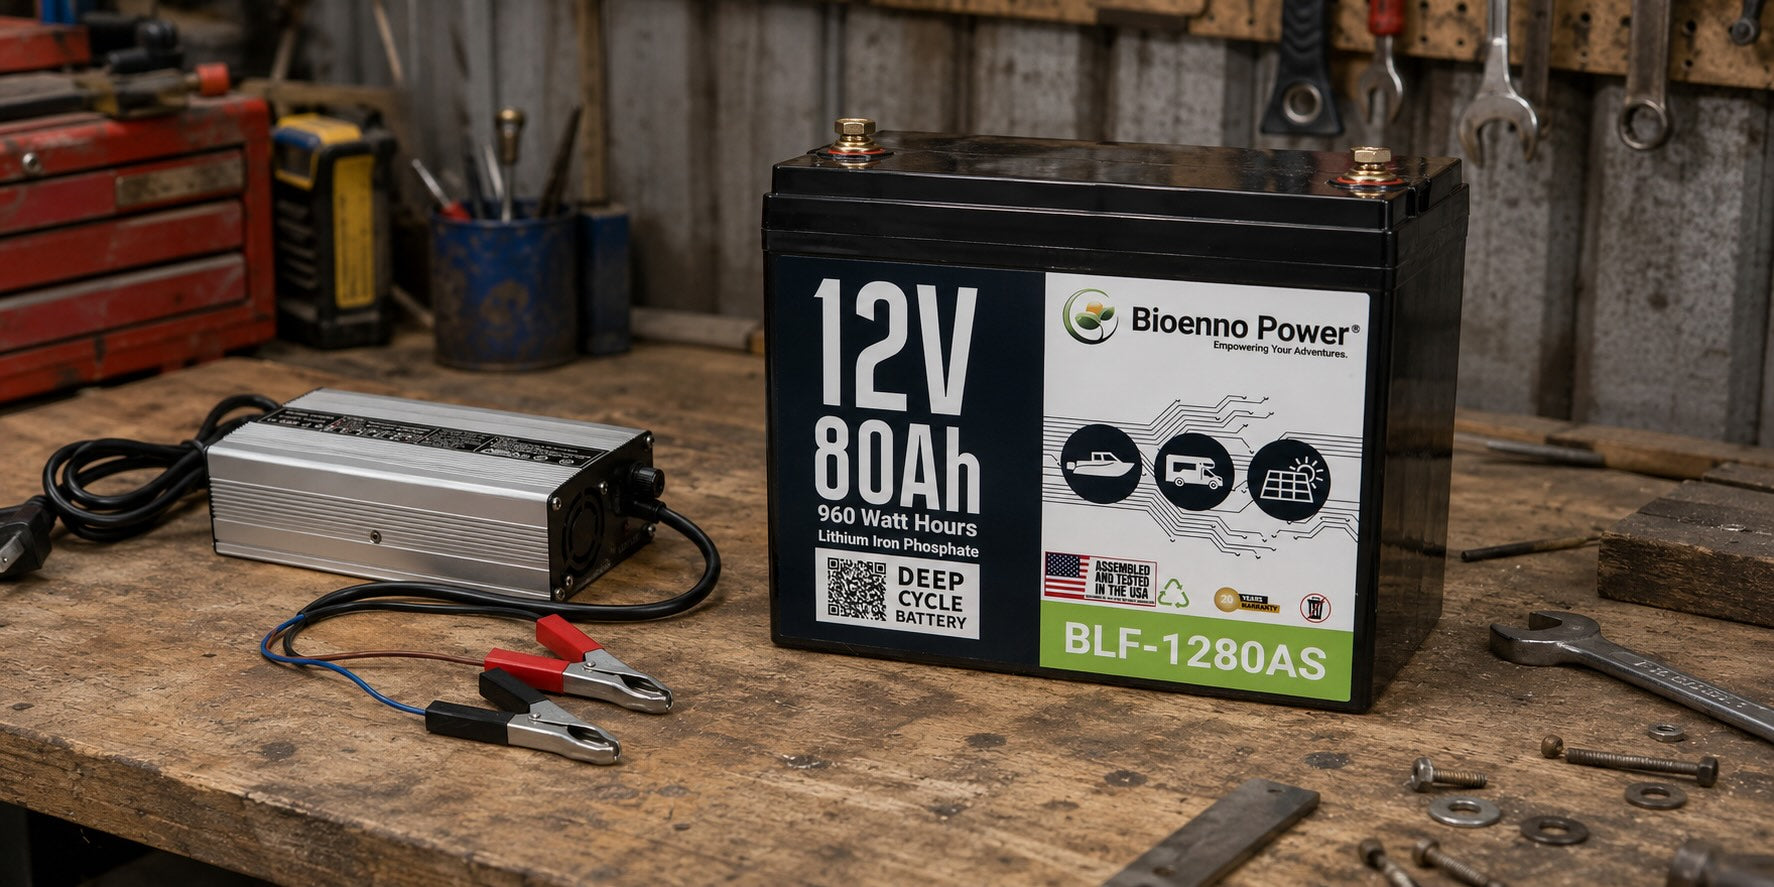
A wall charger is often the simplest and most consistent method. The features that matter most are a charger that explicitly supports LiFePO4, stable charge termination behavior, and quality connectors and cables. You can start with Bioenno's full collection to match chargers and batteries to your use case.
When to charge to 100% and when not to
Charging to 100% before a trip is practical because it maximizes runtime. For long-term storage, keeping a battery at 100% indefinitely is usually not the goal. Follow the battery manufacturer’s storage recommendations for the best approach.
Storage charging and long-term care
Storage habits determine whether your battery feels reliable next season. If the battery will sit unused, store it intentionally at a recommended charge level, keep it in a stable environment when possible, and check on it periodically per manufacturer guidance.
Putting it all together: a simple, reliable charging plan
A “charging stack” approach that works for most people
Most real-world users do best with a charging stack: solar for steady daytime replenishment, alternator or DC-DC charging for travel days, and wall charging to reset before a trip. This removes stress from any single source. If one input underperforms, you have another option.
Quick troubleshooting when charging fails
Before you assume the battery is the problem, check these first:
- Wrong battery profile selected on charger or controller.
- Loose or corroded connections.
- Undersized cables causing voltage drop.
- Shading or poor panel placement.
- Temperature-related BMS protection.
For more education and application ideas, you can browse Bioenno’s blog archive.
Next step: pick the right Bioenno setup
Once the charging plan is clear, product selection is simpler. You’re not guessing. You’re matching batteries, chargers, and solar components to your actual daily load and recharge constraints.
When you’re ready, shop now and choose the right system for your RV, boat, or off-grid setup.