If last season ended with a scramble, you are not alone. Spring is when a lot of RV and boat owners discover the same frustrating surprise: a battery that will not charge, a charger that errors out, or a power setup that looked fine in the driveway but fails the moment the trip starts.
The good news is you do not need to be an electrician to avoid most of those problems. With a short, practical routine, you can head into the season with a setup that feels predictable, whether you are running lights and a fridge in your rig or powering marine electronics on the water.
This spring launch checklist focuses on RV lithium batteries (specifically LiFePO4 batteries) and the gear around them, because the battery is rarely the only issue. Connections loosen. Chargers get set wrong. Cables corrode. And a system that is sized too tight for your real usage can turn into a stressful weekend.
Start with a quick power-system check (before you pack)
Identify your battery type and voltage needs
Before you touch anything, confirm what you are working with. Many rigs are a mix of components purchased at different times, and it is easy to forget a key detail.
For RVs and vans, most house systems are 12V. For boats, especially trolling-motor setups, you may be dealing with 12V, 24V, or 36V banks. That matters because chargers, wiring, and even how you troubleshoot will change based on voltage.
If you are upgrading from lead-acid, remember this: LiFePO4 behavior is different. You often get more usable capacity and steadier voltage, but you still need the right charging profile and good connections.
Look for obvious red flags: damage, swelling, loose terminals
Do a quick visual and hands-on inspection. Check the case for cracks, bulging, or impact damage. Wiggle each terminal gently and make sure nothing moves. Look for corrosion on terminals, lugs, and any exposed copper. Inspect cables for stiff spots, fraying, melted insulation, or discoloration near crimps.
If you find corrosion, clean and re-terminate as needed. A dirty terminal can cause voltage drop that looks like a failing battery, especially when a load hits.
Confirm your battery management system (BMS) basics
Most LiFePO4 batteries include a BMS that protects the cells by disconnecting the battery under certain conditions. That is great for safety, but it can confuse troubleshooting.
If your system was stored in cold conditions or run down too far, the BMS may have entered protection mode. In plain terms, the battery might look “dead” until it is brought back into a safe range (often by using the correct charger and giving it a bit of time).
If you are not sure what happened, start simple: confirm voltage at the battery terminals with a multimeter, then confirm voltage at the loads. A healthy battery with a bad connection can still show good voltage at the battery and bad voltage at the device.
Get your charging setup ready (home, shore power, or generator)
Match charger settings to LiFePO4 requirements
One of the most common spring failures is a charger that is fine for lead-acid but wrong for lithium.
If your charger has selectable modes, confirm it is set to LiFePO4 (or a lithium profile recommended for LiFePO4). If it does not have a lithium mode, do not guess. Charging too aggressively or using the wrong absorption behavior can shorten battery life or trigger protection.
Also check any solar charge controller settings if you rely on solar. A lot of “mystery” charging problems come from a controller that was reset, reconfigured, or updated.
Inspect cabling, fuses, and connectors
Spring is when you should assume things worked loose from vibration or storage. Give extra attention to the main fuse and disconnect (tight, clean, correctly sized), charger-to-battery wiring (proper gauge, solid crimps), and ground or negative connections (clean, tight, and neatly stacked).
If you have ever seen a connector get warm under load, treat that as a warning. Heat is wasted energy, and it usually points to resistance from a loose connection or undersized wiring.
Plan for top-off charging before departure
Do not make “the first drive” the test. Top off at home, then put the system under realistic load for 20 to 30 minutes.
For RVers, that might mean running the fridge, lights, and vent fan while checking that nothing trips or alarms. For marine setups, you can test electronics, pumps, and any accessory loads. The goal is to find issues when you still have tools, time, and a calm brain.
Prep for real-world spring conditions: vibration, moisture, and temperature swings
Secure mounting and protect terminals
Spring trips often mean rough roads, trailer vibration, and gear shifting around. A battery that is “mostly secure” is not secure.
Make sure your battery is mounted so it cannot slide, tip, or pull on cables. Use covers or boots where appropriate to prevent accidental shorts. A single dropped tool across terminals can turn into a bad day fast.
Keep water and corrosion from ruining connections
Marine environments are especially unforgiving. Even in an RV, spring humidity and temperature swings can create condensation.
If you are boating, inspect for moisture intrusion in compartments and consider protective measures for terminals and connectors. If you find repeated corrosion, you are not dealing with bad luck. You are dealing with exposure.
Know how temperature affects charging and runtime
LiFePO4 batteries generally dislike being charged in very cold conditions. Temperature can also change how much power you can comfortably pull and how long you get from a charge.
If you are traveling into cold nights or early-season mornings, plan accordingly: charge when the battery is within safe temperature ranges (check your battery documentation), and do not assume yesterday’s runtime equals today’s.
Estimate runtime so you do not run out mid-trip
List your critical loads (what must stay on)
When people run out of power, it is rarely because the battery is “bad.” It is usually because the system was not sized for reality.
Critical loads look different for everyone. In an RV, that might be the fridge, lights, water pump, and fans. On a boat, it might be the fish finder, livewell, and trolling motor.
This is the part where a quick, honest list saves you stress.
Use a simple watt-hour approach to estimate time
You do not need perfect math. You need a reasonable estimate.
As a rough method: battery capacity (in watt-hours) divided by your average load (in watts) gives you estimated hours. If you are not sure about your load, start with a conservative estimate and adjust after a trip or two.
This is where boondocking power solutions either feel effortless or frustrating. If your battery is sized too tight, you will spend the whole trip thinking about power instead of enjoying the trip.
Consider monitoring tools for peace of mind
Battery monitoring removes guesswork. If your system supports it, a monitor can help you track state of charge, usage trends, and whether charging is actually happening.
It is especially helpful for spring shake-down trips, when you are re-learning your typical consumption.
Storage and between-trip maintenance (so next weekend is easy)
Best practices for state of charge during storage
Between spring weekends, you want your battery to be ready without being stressed.
If you store your rig or boat for a while, aim for a sensible storage charge (check the manufacturer guidance). Avoid leaving the system fully drained, and avoid ignoring parasitic loads that slowly pull the battery down.
Avoid the most common charging mistakes
Most problems trace back to proper charging methods not being followed. Common mistakes include using the wrong charger profile, charging in unsafe temperatures, or assuming a quick top-off is enough without confirming the system actually reached a full charge.
If you ever see inconsistent charging behavior, do not ignore it. Chargers often fail gradually, and spring is the time to catch it.
When to replace cables, chargers, or the battery itself
Replace components when you see repeat issues that do not resolve with tightening and cleaning, such as cables that repeatedly heat up under load, charger faults that persist even after confirming settings, or terminals and connectors that will not stay tight.
Sometimes the fix is not a bigger battery. It is a more reliable support system around the battery.
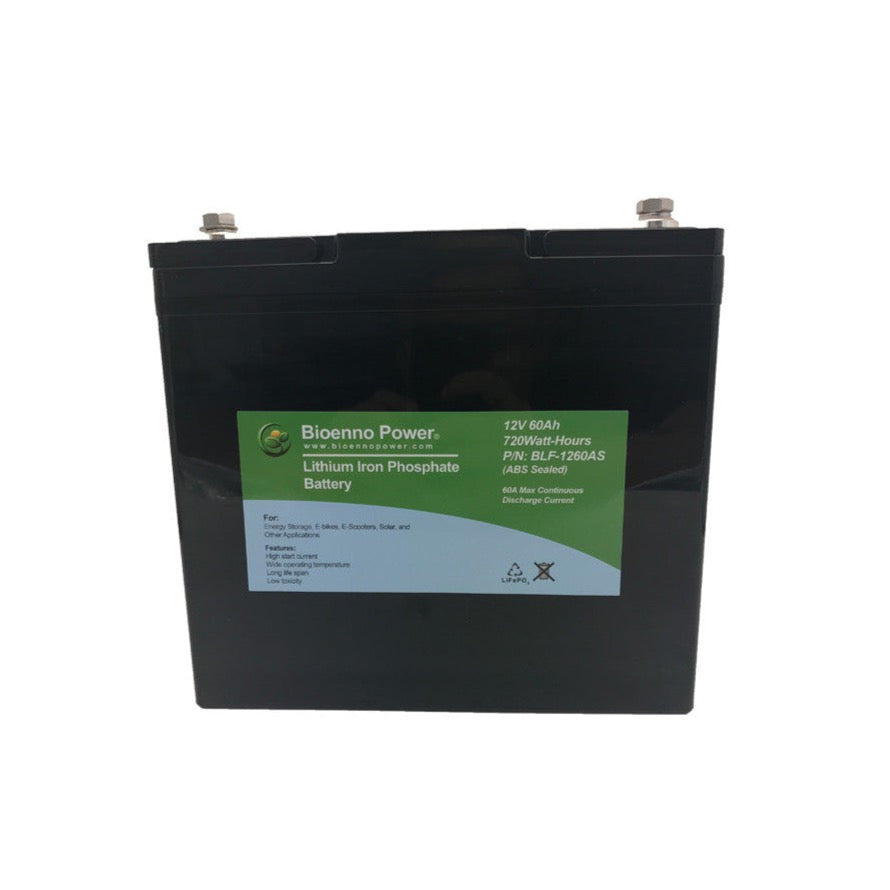
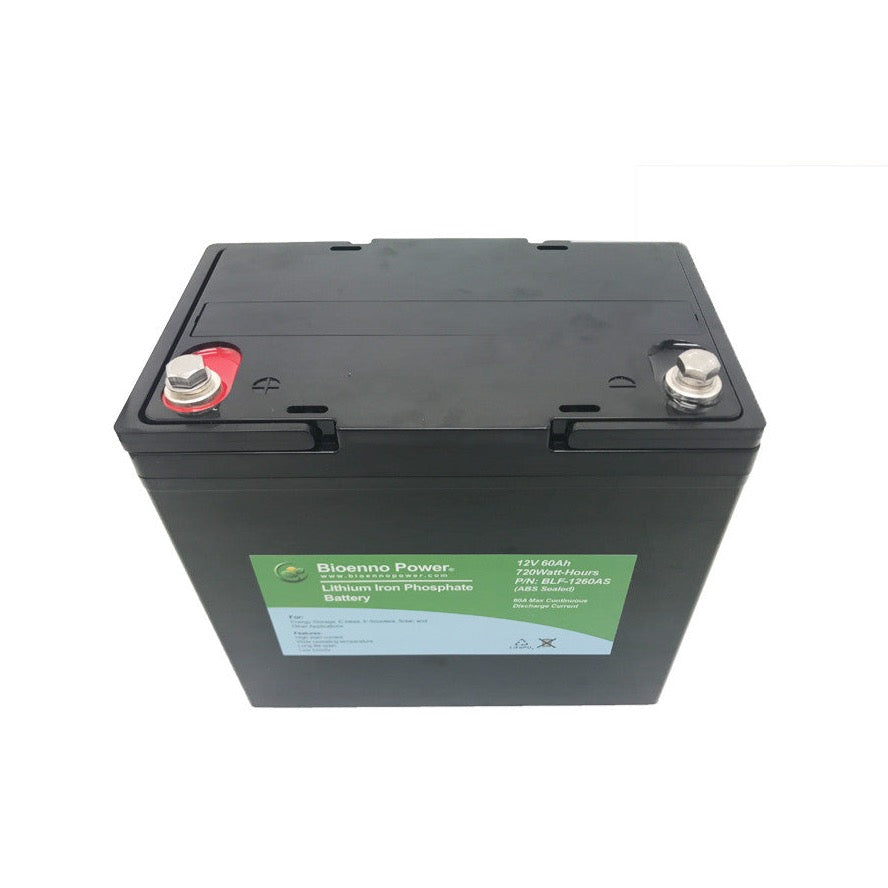
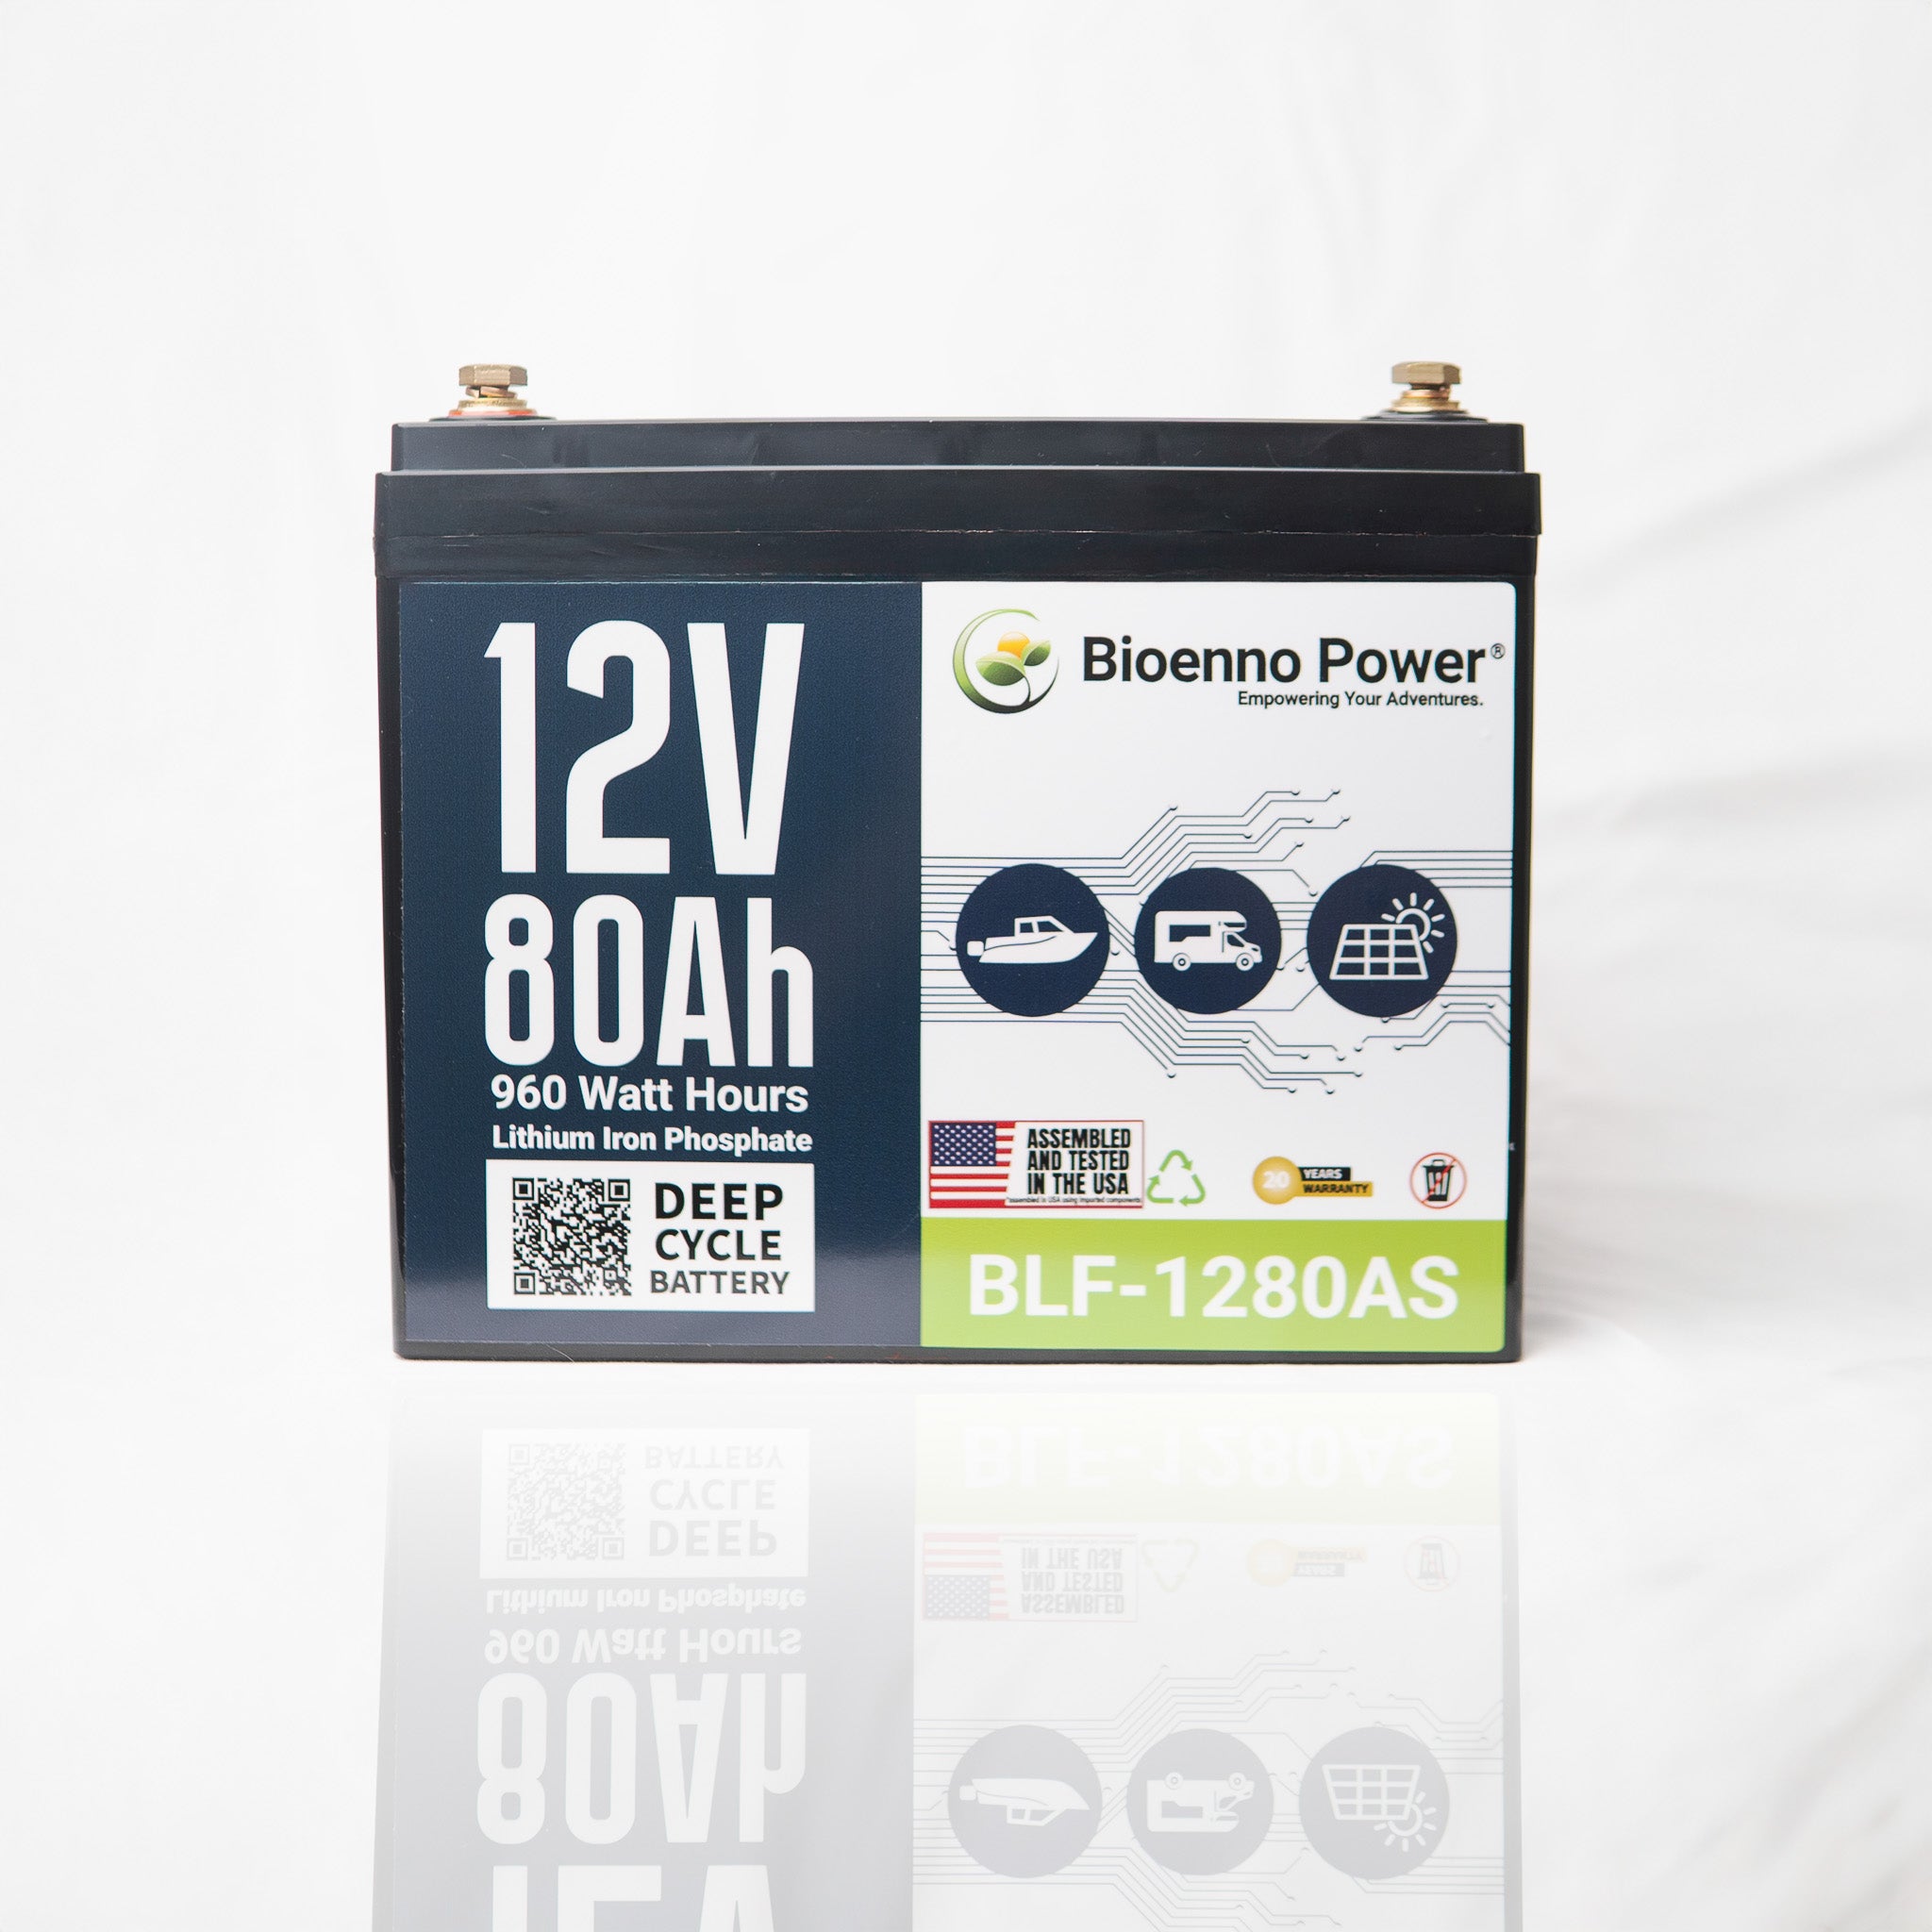
When you are ready to upgrade, choosing the right LiFePO4 battery and charger combination can make your entire season smoother. If you want a setup that is lightweight, dependable, and built to handle real-world use, Bioenno Power offers LiFePO4 options for RV, marine, and portable applications.
Shop now to get your spring power setup ready (and choose the right battery and charger for your rig).