If you have ever limped through a trip with dim lights, a struggling alternator, or a battery bank that drops voltage the moment you unplug from shore power, you already know the problem. Traditional lead-acid “deep cycle” batteries work, but they are heavy, they sag under load, and they often fail right when you need them most.
A LiFePO4 (lithium iron phosphate) upgrade is one of the cleanest ways to get longer runtime, more usable capacity, and steadier power for your RV. The key is doing the installation correctly so your wiring, charging system, and safety setup all match what lithium batteries need.
This guide walks you through the full process.
Why upgrade from lead-acid to LiFePO4 in an RV?
Swapping to LiFePO4 is not just about “new tech”. It is about solving everyday RV power problems.
More usable power (without the voltage slump)
With lead-acid, you typically want to use only about half the rated capacity if you want decent lifespan. With LiFePO4, you can use most of the capacity without the same damage, which means a 100Ah lithium battery often delivers noticeably more real-world runtime than a 100Ah lead-acid battery.
Less weight and less wasted space
Lithium batteries deliver more energy per pound. That matters in a motorhome, trailer, or van where payload is limited and storage compartments are tight.
Longer service life
A quality LiFePO4 battery is built for many more cycles than typical lead-acid batteries. That can turn an annoying recurring replacement into a one-time system upgrade.
Before you buy: sizing your RV lithium battery bank
The “right” battery size depends on how you camp and what you power.
Start with your daily power needs
Think in watt-hours (Wh) or amp-hours (Ah) used per day. If you are not sure, a battery monitor makes this dramatically easier. Typical RV loads include lighting, vent fans, the water pump, furnace blower, a 12V fridge, and inverter-powered items like a TV, laptop charging, or a coffee maker.
Decide on system voltage
Most RVs are built around 12V DC. Larger inverter systems sometimes move to 24V for efficiency. Whatever you choose, keep your battery bank, inverter, and charging components matched.
Pick features that fit RV reality
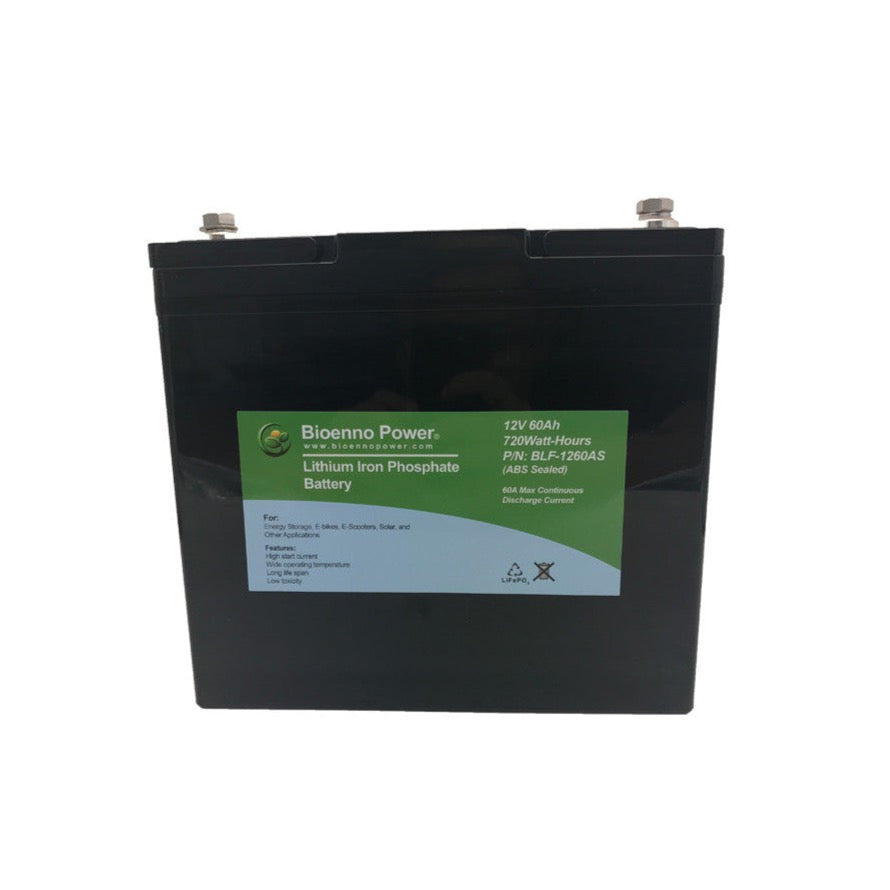
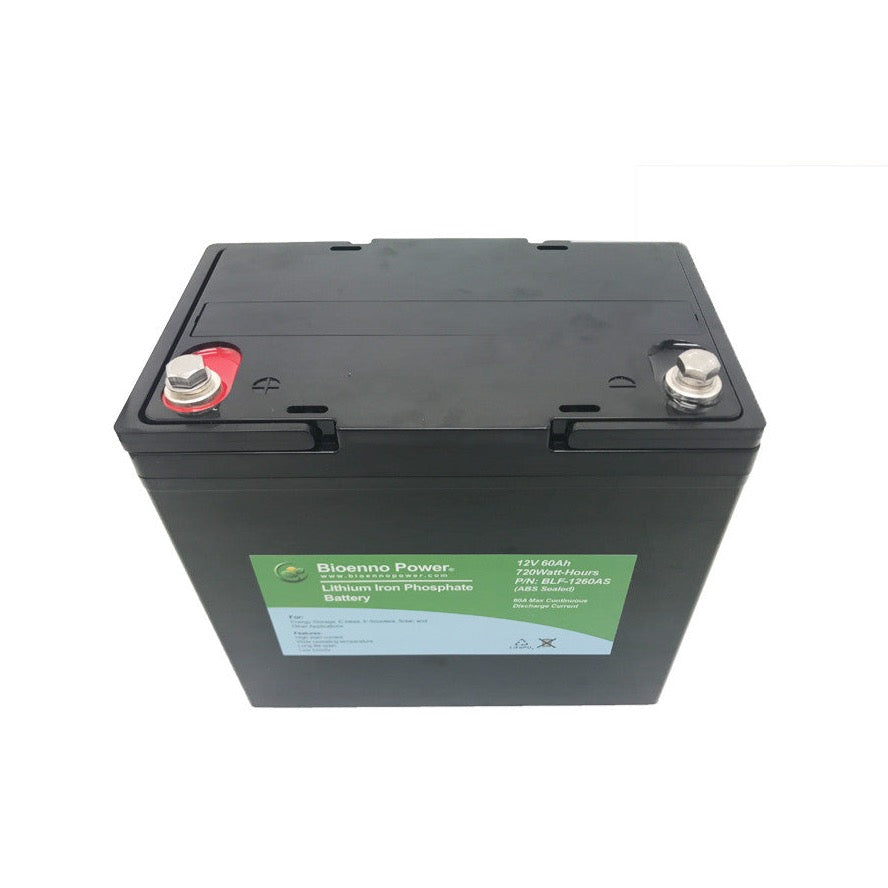
For RV use, look for a LiFePO4 battery with an integrated BMS (battery management system), clear charge voltage documentation, and cold weather charging protection if you camp in freezing temperatures.

Tools and parts you will usually need
Here is the short list of what usually makes an RV lithium install clean, safe, and easy to troubleshoot later:
- Main battery disconnect switch (if you do not already have one)
- Proper gauge battery cables (often larger than what older lead-acid setups used)
- Main fuse near the battery positive (Class-T or another appropriately rated option)
- Bus bars (recommended for tidy wiring)
- Battery monitor + shunt (strongly recommended)
You will also want basics like heat shrink, lugs, a torque wrench, a multimeter, and cable management hardware.
Step-by-step: RV LiFePO4 battery installation
Step 1: Power down safely
Before you touch anything, fully de-energize the system. Unplug shore power, turn off the inverter, turn off the converter/charger breaker if applicable, disconnect solar input, and switch off the battery disconnect. Then confirm with a multimeter that the system is actually off where you are working.
Step 2: Remove old lead-acid batteries
Take a quick photo of the existing wiring before removing anything. Label cables if needed. Disconnect the negative cable first, then positive. Lift batteries out carefully. Lead-acid batteries are heavy, and RV battery compartments can be awkward.
Step 3: Inspect and upgrade battery cabling
This is where many “my lithium upgrade did not fix anything” stories begin.
LiFePO4 batteries can deliver higher current with less voltage drop, which means weak connections, undersized cables, and corroded lugs become more obvious. Make sure your cable gauge matches your maximum expected current draw, lugs are properly crimped and protected, and connections are clean and tightened to the battery manufacturer’s torque specs.
Step 4: Install your main fuse and disconnect
For RV electrical safety, the main fuse should be as close to the battery positive as practical. If you are adding a battery disconnect, install it where you can reach it quickly. In a real emergency, “reachable” matters more than “pretty”.
Step 5: Install the LiFePO4 battery (or batteries)
Mount the battery securely so it cannot slide or bounce during travel.
If you are wiring multiple batteries, the safe rule of thumb is: parallel wiring keeps the same voltage and increases capacity, while series wiring increases voltage. Only wire in series if your specific battery model supports it and your RV system is designed for the higher voltage.
If you are building a parallel bank, use balanced wiring so batteries share load evenly.
Step 6: Add a battery monitor
A lithium voltage curve stays relatively flat for a long time. That is great for performance, but it makes “guessing state of charge by voltage” unreliable.
A shunt-based battery monitor gives you accurate state of charge, amps in/out, and consumption trends so you can plan your days and catch problems early.
Step 7: Reconnect the system and verify basics
Reconnect positive first, then negative.
Before turning everything back on, double-check polarity, confirm the main fuse is correct and installed, keep solar disconnected for the moment, and keep the converter/charger off. Then power on in stages and verify each part behaves normally.

Charging system compatibility: the part you cannot skip
A LiFePO4 installation is only as good as the charging setup behind it. In an RV, you typically have up to three charging sources.
RV converter/charger (shore power)
Many RVs ship with lead-acid charging profiles. Lithium needs different charge voltages and usually does not want a long float stage the same way lead-acid does. If your converter has a lithium mode, enable it. If not, you may need to upgrade the converter or use a charger designed for LiFePO4.
Solar charge controller
Solar is one of the best pairings with lithium, but your controller must be set correctly. Confirm bulk/absorption voltage matches your battery specs, float voltage is set appropriately (or disabled if recommended), and cold temperature charging is handled safely.
Alternator charging (driving)
If your RV charges house batteries from the engine alternator, be careful. Lithium can pull high current, and that can stress wiring or alternators if the system is not designed for it. Many RV and van builds use a DC-DC charger to regulate alternator charging and protect both the battery and the vehicle charging system.
Safety considerations for RV lithium battery installs
Ventilation and mounting
LiFePO4 does not off-gas like flooded lead-acid, but it still needs a clean, dry, secure mounting location. Keep it away from direct engine heat or areas that routinely get wet.
Cold weather charging
Charging LiFePO4 below freezing can damage many packs unless they have protection or self-heating features. If you camp in winter climates, make sure your battery and charging setup account for this.
Short circuit protection
Fusing, disconnects, and proper cable routing are not optional. A short on a high-current battery bank is fast and dangerous.
Common mistakes that cause lithium upgrades to underperform
- Reusing undersized cables from an old lead-acid setup
- Leaving the converter/charger on a lead-acid profile
- Skipping a shunt-based battery monitor and flying blind
- Ignoring alternator charging limits
- Placing the main fuse too far from the battery
Avoid those, and your upgrade tends to feel exactly like what people hope lithium will feel like: steady power, longer runtime, and fewer compromises.
Helpful Bioenno Power resources
Ready to upgrade?
You can find our RV deep cycle batteries to LiFePO4 here and build a battery bank that is lighter, more dependable, and built for real off-grid travel.